Wigilia, the Polish Christmas Eve and Christmas dinner are sit down affairs at my place, with the food laid out on a separate table, so everyone can help themselves, over and over…But I still like to have a Centrepiece dish –a Star of the Show.
For the seafood feast that is Wigilia, I always do a family tradition of cashew nut crumbed fried fish, but the last couple of years I’ve done Gravlax– a cured side of salmon. This Northern European dish is so easy anyone can give it a go. And the best bit? You do all the work 2-3 days before Christmas! Winwin!
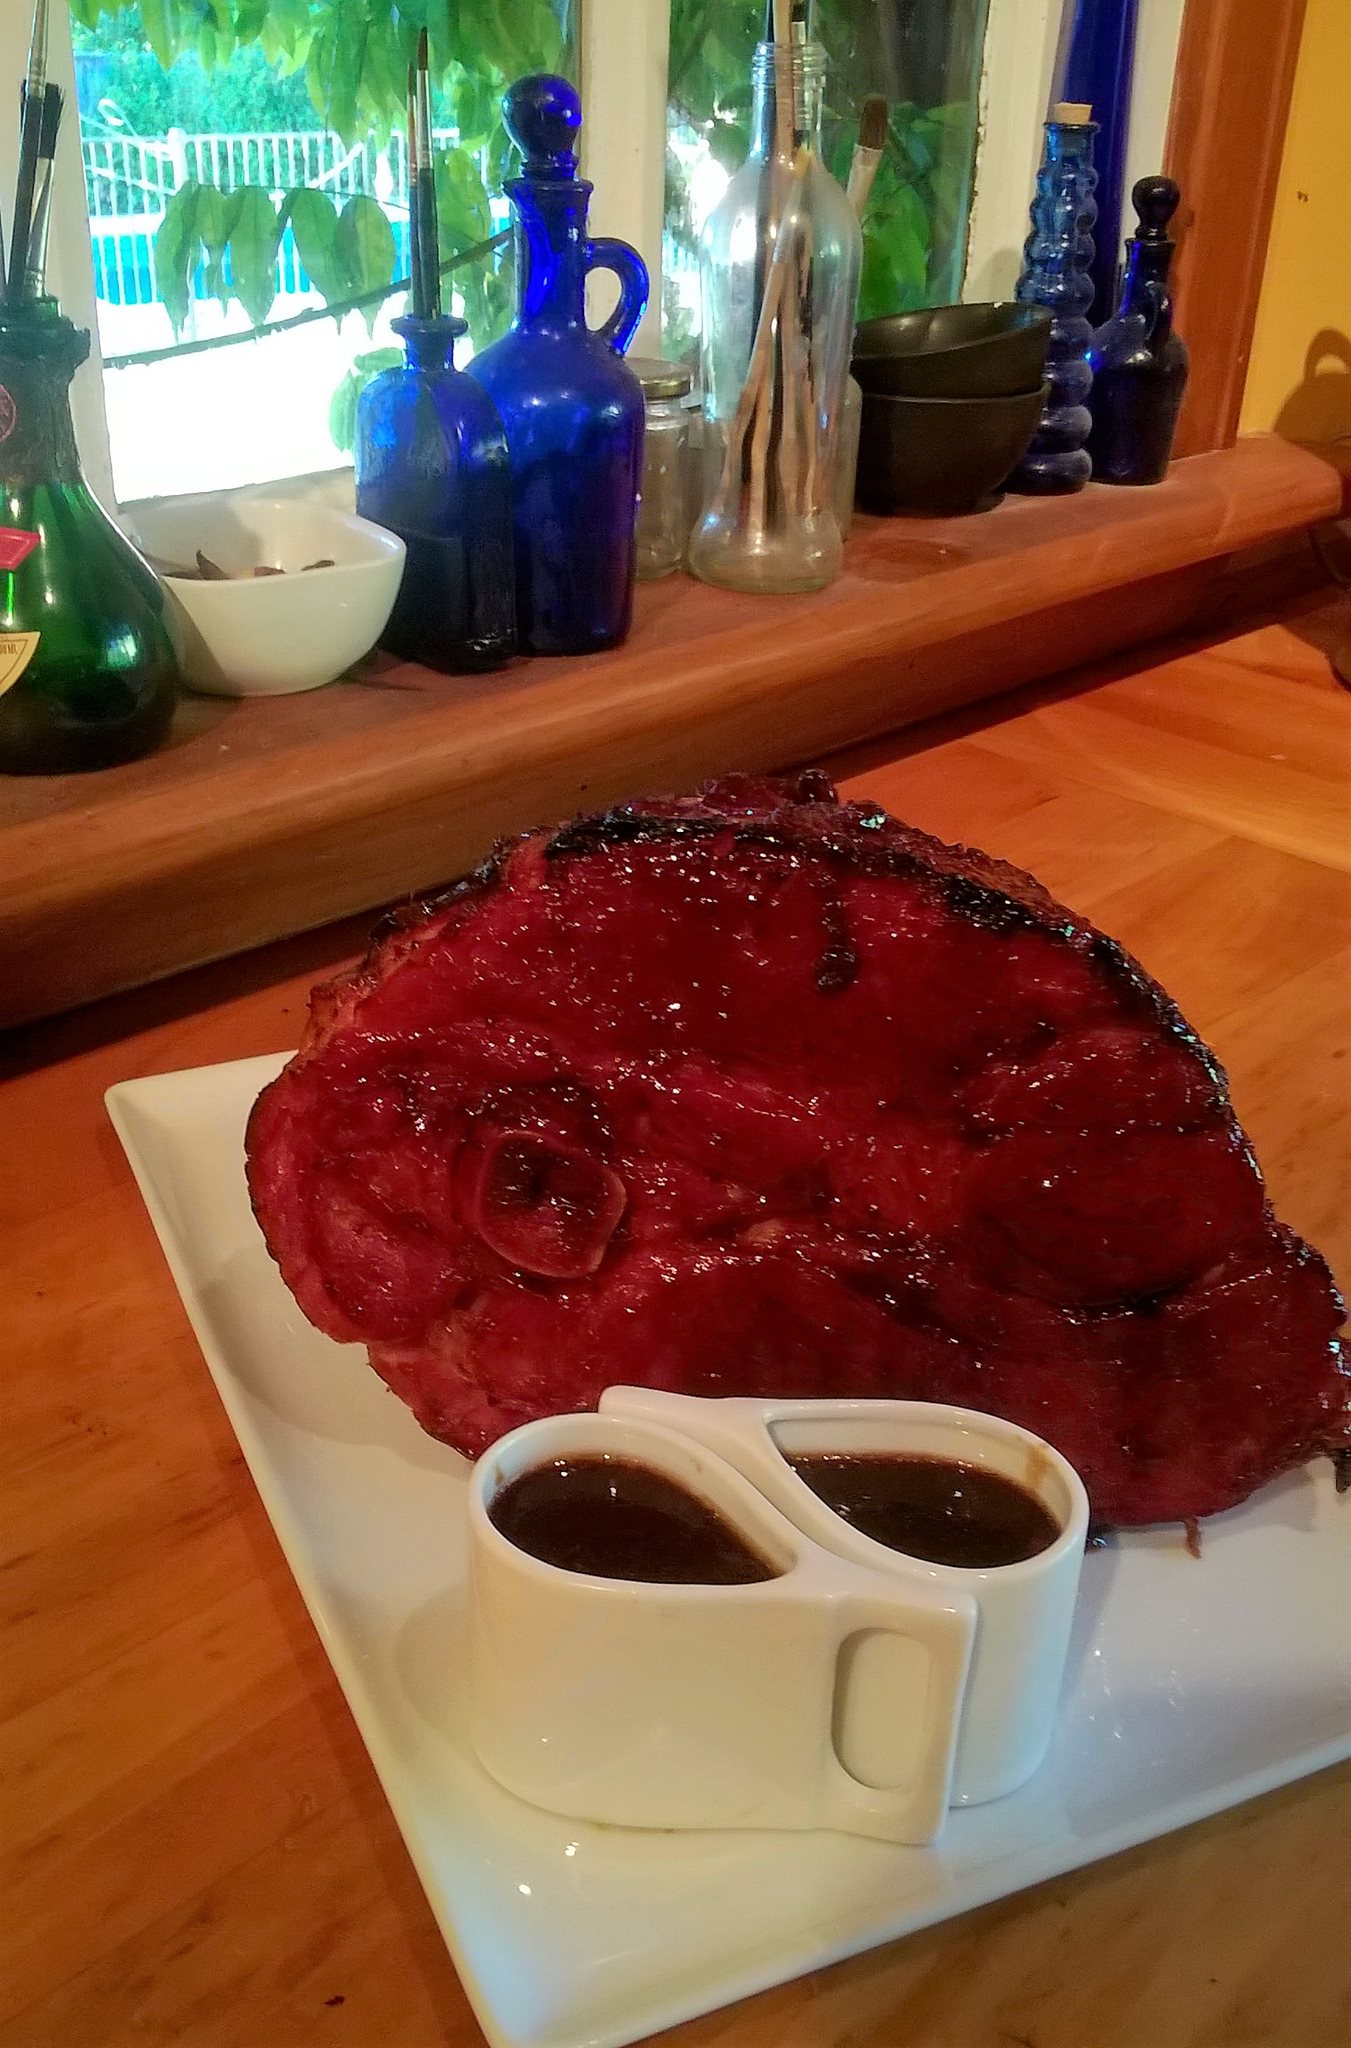
On Christmas Day along with a roast Turkey I do a Glazed Ham. Another easy dish, this ham makes a very impressive Leading Light, and has the advantage that it can be made the day before, fills the house with the Smell of Christmas.. AND makes the best Boxing Day sandwiches…

Gravlax
This curing process dries out the fish, giving it a very firm texture, and although technically raw, the curing process preserves the fish,and you can keep it in the fridge for up to 2 weeks, though this would depend on how long the initial cure was. The salt and sugar draw out the moisture from the salmon, and the salt inhibits the growth of the bacteria that would normally cause the salmon to “go off”. EverythingI researched beforehand indicated it was straight forward, and that the basic cure was a combination of salt, sugar and dill.
The flavourings you can add to the cure are as numerous as your imagination. Ihave started my gravlax journey with a very basic cure, but I am now already planning some new combinations…
NB: Please don’t use salt with Iodine – it will make the salmon(or anything you pickle or cure) darker or black… Find one of the mineral salts(Himalayan Pink salt works well), and you shouldn’t get any strange marking.
The real joy of this dish though, is that it takes 10 minsof prep at least 2 days before its needed, and that’s it. On the Day, you unwrap it, wipe it down, or rinse it, and it’s good to go. As with all these things, the longer its curing the better it tastes, and the longer it will last. I normally cure it for at least 3 days.
So… how to?
You can use one side, but I used 2, because I wanted to feed a lot of people.
So, per side you need the following quantities of salt and sugar
75gm salt
75gm caster sugar (the finer sugar helps the curing process work faster)
1t black peppercorns
Zest of 1 lemon
8 crushed juniper berries (optional, but it gives a subtle aroma to the finished product)
Small bunch of dill roughly chopped
2 T gin (also optional)
Place all the dry ingredients into a kitchen whizz and whizz until the dill has coloured everything green.
Carefully pin bone the fish, using tweezers to pull out the bones. (if you miss any, don’t panic, they are very apparent when you come to slice it later)
Pull out a very generous sheet of glad wrap – roughly 3times the length of the fish. Place the fish in the centre, skin down, and sprinkle the cure over the top. Pour over the gin, if using. If there are 2 sides, place the 2nd one over the top. And then bring the glad wrapover and completely seal in the fish, wrapping tightly.
Place in a flat dish with sides, that the fish fits in, place something flat over the top and then weigh it down (cans of spaghetti or similar work well) and place in the fridge. And then every 12 hours take the weights and plate off the top and turn the salmon. The dish will fill with liquid that has been drawn out of the fish – hence the need for sides. And that’s it.
About 4 hours before its needed, unwrap the fish, and brush off the cure. If you want, you can rinse off the excess. Then leave it unwrapped in the fridge for another 4 hours to completely dry out.
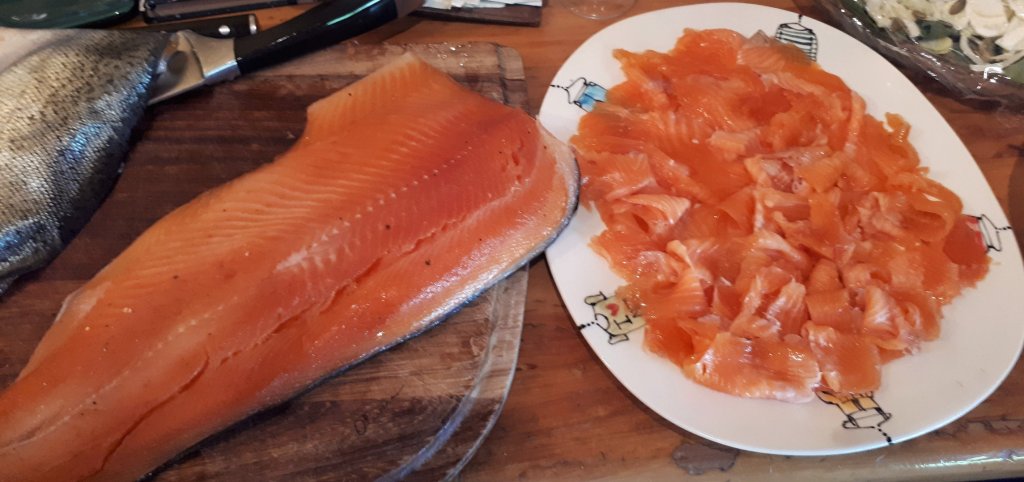
Once you’re ready to serve; use a very sharp knife and slice paper thin slices on the angle off the fish.
It also double duties as a yummy canape, by serving the slices on dark rye bread, or tasty crackers, topped with crème fraiche mixed with dill..
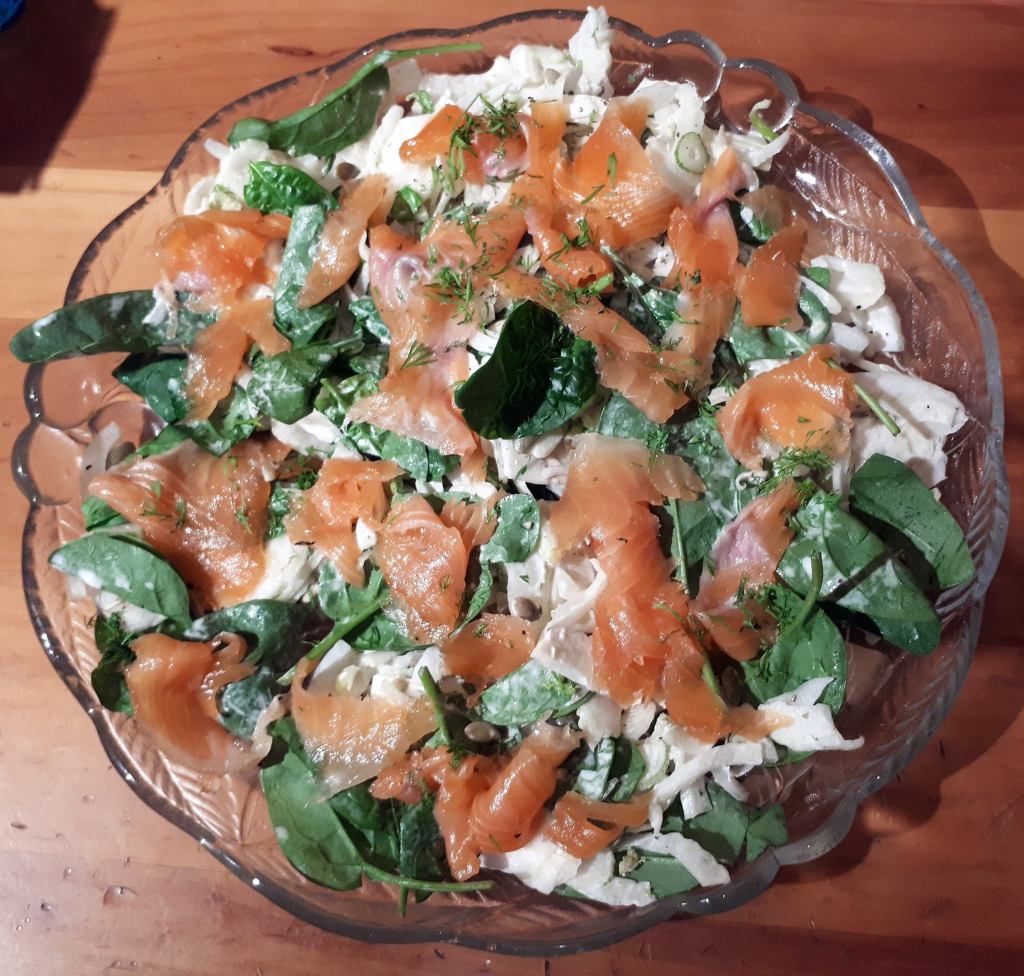
And it pairs beautifully with the fennel and Spinach Salad I talked about on 3/12/18. https://chrissiestable.com/2018/12/03/salad-days/
Anyway, give it a go! The end product is very rich,so it makes the salmon go further, and it’s so straightforward, but people will think you are awesomely clever when you serve it up.
Baked Ham
I love a baked ham. I do one at Christmas; but then in the summer I might bake 1 or 2 more – when they come on special; they’re great to have for a good couple of dinners and, of course, loads of lunch time sandwiches. I really recommend investing in a Ham Bag for storing your ham in the fridge.Season the bag by adding 2T of white vinegar to a small bowl of hot water, soak your ham bag in the water, wring out and put your ham inside. Repeat every couple of days. Your ham stays moist and fresh for days.
1 large ham on the bone
1 jar good cranberry preserve. You want one that’s not too sweet, and has whole cranberries in it
1 C orange juice
1 C real maple syrup – not the maple flavoured one, that’s too sweet
Zest and juice of one orange
1 Tbsp seeded mustard
1 Tbsp grated fresh ginger
2 cinnamon sticks
2-3 whole star anise
Heat oven to 150 degrees
Place all the glaze ingredients in a small saucepan and stir until well mixed. Heat until simmering and simmer for 10 mins. It won’t go super thick and sticky, but it gives a chance for the spices to infuse well.
Meanwhile grab your ham and run a sharp knife through the skin on both sides. Then (and this is very satisfying if you like to play with your food) run your fingers under the skin and slowly pull it free of the ham.. You should be leaving a layer of fat and only pull off the skin.
Once clear I always trim back the fat. Not down to the flesh, leave a thin layer behind. Some recipes keep it on, but I have another use for it (Christmas Roast Potatoes– recipe to come), and I find leaving it makes the ham too fatty. Use your knife to make fine cuts through the fat down to the flesh – about an inch apart, diagonally one way, and then diagonally the other.. gives you a diamond patter.
Place in a large roasting dish – but one only slightly bigger than your ham. You don’t want the glaze to evaporate away while you roast.
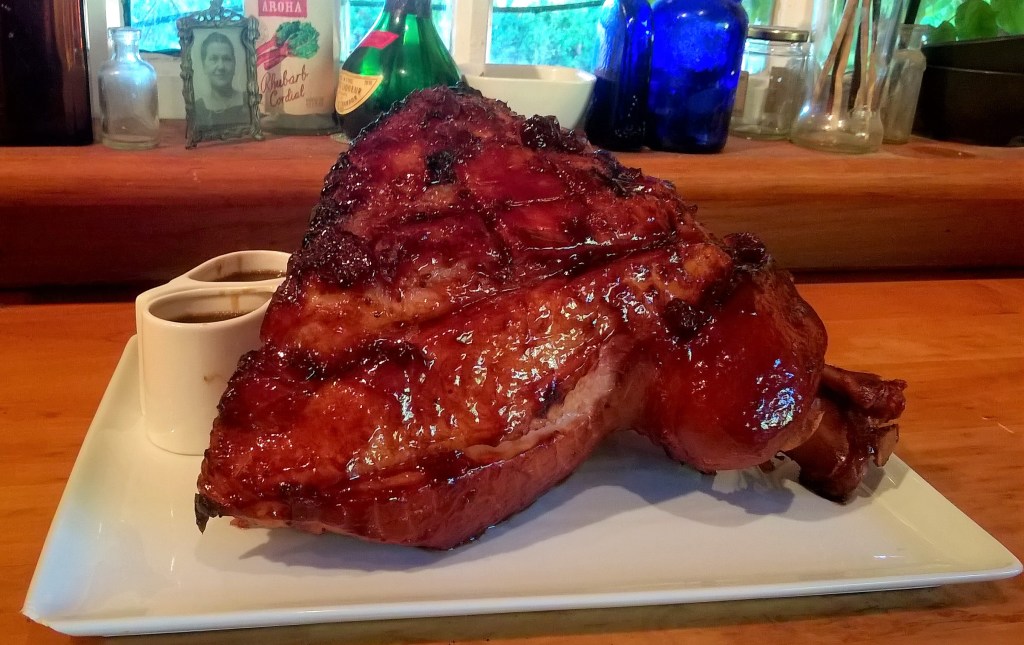
Pour about a 1/3 of the glaze all over the ham and put in the oven. Now comes the basting bit. You’ll be cooking the ham for around an hour and you want to baste it 3-4 times. Easy to do if you’re busy in the kitchen anyway – if not, every ad break go and pull it out of the oven, pour another 1/3 of the glaze on the ham. Once all the glaze has been used, pull the ham out one last time and using a brush brush it all over with the pan juices. Turn the temp up to 180C for the next 10 minutes. By now your kitchen should smell divine, and your ham been dark and sticky looking.
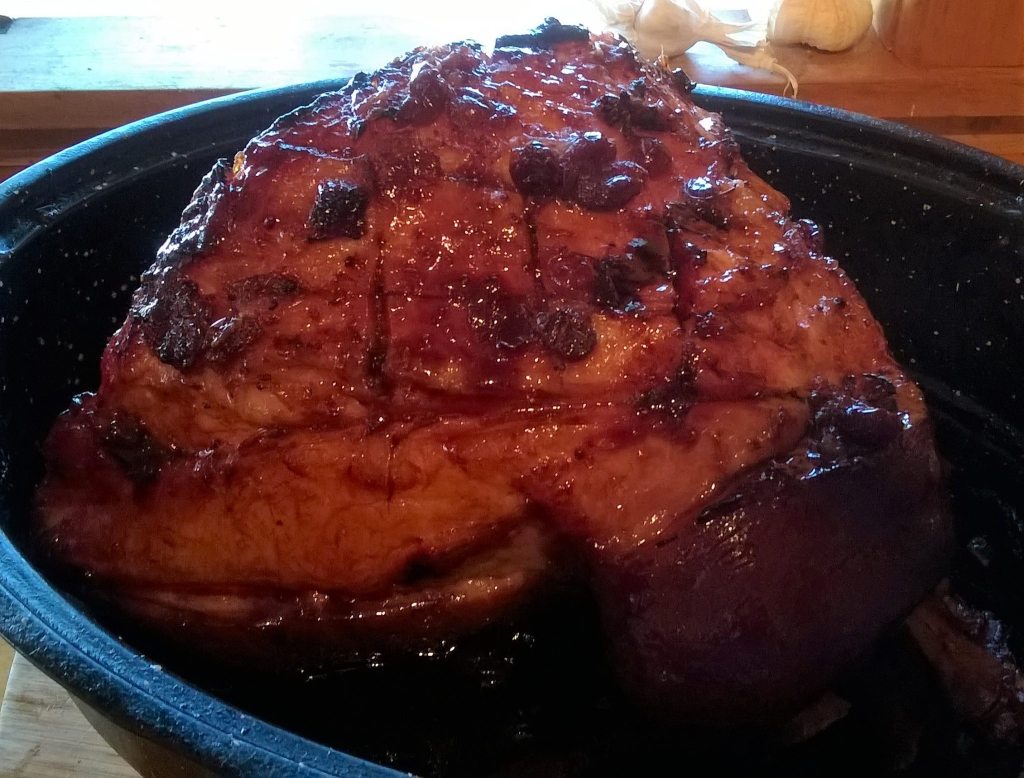
At the end of 10 mins, pull the ham out and use the brush to rebrush with pan juices.. This reinforces the flavour and the glaze should get thicker and stickier.
You can either eat now, refrigerate, and eat later that day or the next. Pour off the pan juices for a yummy sauce to serve with your ham.
Both of these dishes take very little work, but both have major impact. And both will feed a lot of people – giving you a big bang for your buck!
